
Process
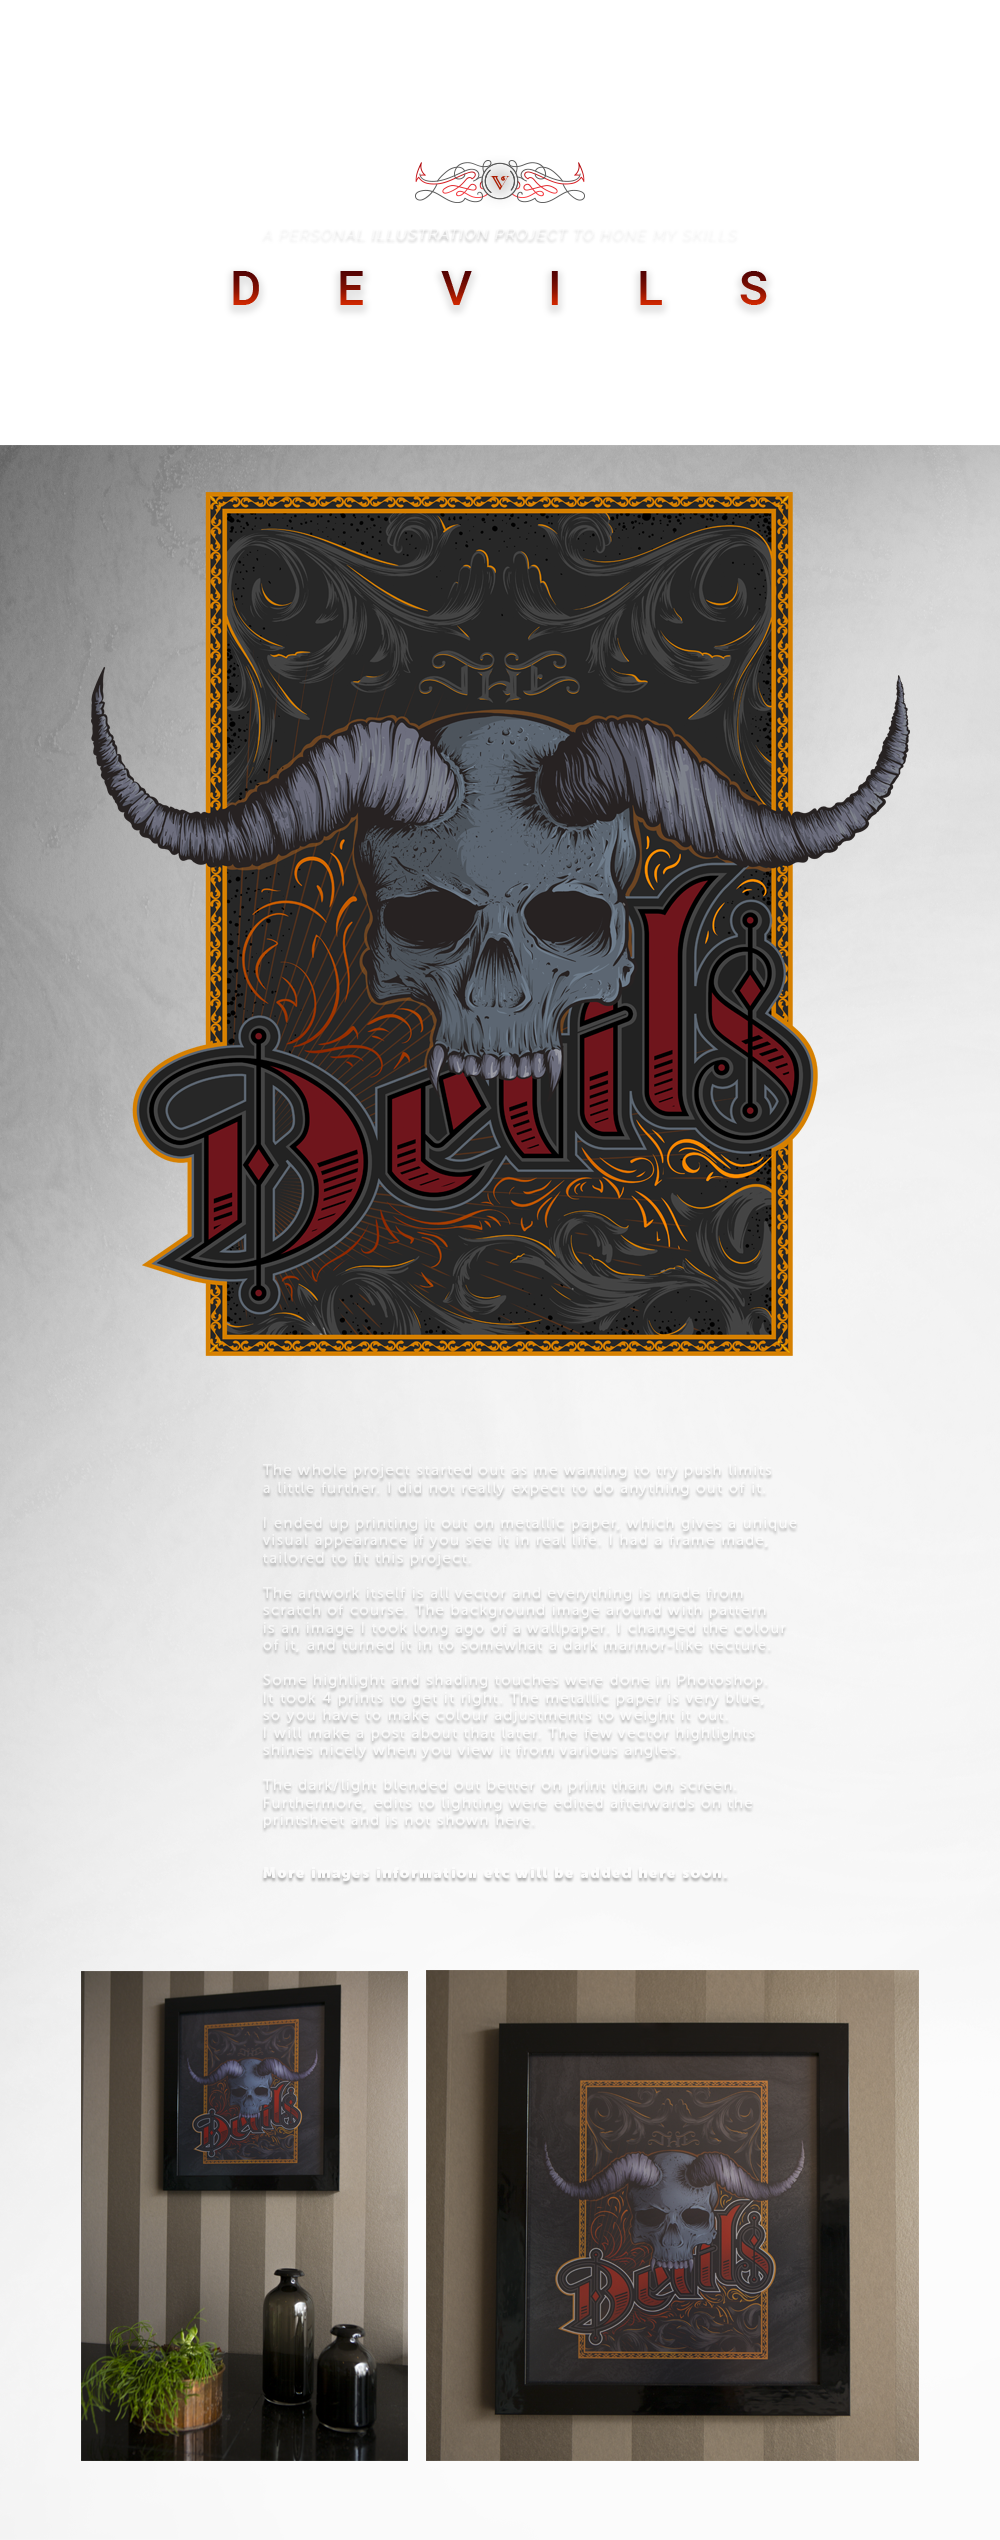
As mentioned, the metallic paper has a blue tint and it affects the image. That means there is no such thing as "white" when using that paper, as where there is white, the printer will simply not put any ink there; thus leaves paper's colour. I took this to my advantage as you can see with the light border around "Devils". The border was originally a blue that was a bit darker, like the skull, but I hollowed it to let paper shine through.
The blue also affects the image where ink is also put. Therefore, you need to compensate for that by adding warmness overlay (depending on the image of course).
The darkness is also a tricky thing. Printing dark colours is often a challenge. If you have a clean dark surface, like a blank black page, any minor mistakes are easily visible. It is also hard to get an even look. You may consider it simply impossible on low-end printers. This particular artwork has a black texture, so there was no worries in that regard. What was tricky was getting it to have same brightness as it did on my computer.
The first print was too dark all over. Second was decent, but it still needed more highlights, and the background texture still needed to be much brighter. On the third one I removed the "Devils" blue outline and lightened the background much more. The background texture ended up way too bright, but rest was good. The fourth was perfect.
Next challenge was cleaning it. It is one of those things one wouldn't even think of. The frame has a blank surface. That alone means it easily leaves fingerprint, but when you also have a black colour it becomes even more sensitive. Luckily we got equiptment for cleaning those kind of things where I work. Some Wurth foam and dust-free cloth and that was fixed.
When I had finished putting the image in and bending the holders of the backplate I remembered that I had completely forgotten to clean the backside of the glass, so I had to dismantle it again.
I washed the backside of the glass, then put everything back in. But then I saw a lot of dust in between the image and the glass, so I had to dismantle it once again.
… and then it was finally done.